네트워크로 연결된 서버 세 대 위에 각각 Zooekeeper와 nifi 를 설치한 후 Clustering 한다.
Zookeeper 를 설치하는 전반적인 방법은 아래 링크를 참고한다.
여기서는 핵심만 말해본다.
설치 전 나는 각 서버의 ip 를 /etc/hosts 에 nf1, nf2, nf3 이라고 매칭시켜두었다.
| node 1, 2, 3 hosts |
| path : /etc/hosts |
| 11.0.0.2 nf1 11.0.0.3 nf2 11.0.0.4 nf3 |
Zookeeper 를 설치하기 위해 zoo.cfg 를 수정한다.
admin.serverPort 가 default 8080 이라서, nifi 의 webui 와 겹쳐지기 않도록
다른 넘버를 할당해준다.
| node 1, 2, 3 에서 모두 똑같이 설정해야 함 |
| path : /root/zk/conf/zoo.cfg |
| admin.serverPort=9001 # The number of milliseconds of each tick tickTime=2000 # The number of ticks that the initial # synchronization phase can take initLimit=10 # The number of ticks that can pass between # sending a request and getting an acknowledgement syncLimit=5 # the directory where the snapshot is stored. # do not use /tmp for storage, /tmp here is just # example sakes. dataDir=/root/zk/data/ # the port at which the clients will connect clientPort=2181 server.1=nf1:2888:3888 server.2=nf2:2888:3888 server.3=nf3:2888:3888 |
| 각 노드의 /root/zk/data/ 마다 myid 를 서로 다르게 순차적으로 넣는다. |
각 노드에 nifi 를 다운받는다.
위의 링크에서 binary 부분에 tar.gz 파일을 받으면 됨.
wget mirror.navercorp.com/apache/nifi/1.12.0/nifi-1.12.0-bin.tar.gz
tar zxvf nifi-1.12.0-bin.tar.gz 명령어로 압축을 해제하고, 아래 나온 path 로 가서
nifi.properties 를 각각의 노드에 맞춰 아래처럼 설정한다.
아래 옵션들이 무슨 뜻이지 알고싶다면 공식문서 참고.
| node 1 에서 nifi.properties |
| path : /root/nifi/conf/nifi.properties |
nifi.state.management.embedded.zookeeper.start=false nifi.remote.input.host=nf1 nifi.remote.input.secure=false nifi.remote.input.socket.port=9998 nifi.remote.input.http.enabled=true nifi.web.http.host=nf1 nifi.web.http.port=8080 nifi.cluster.is.node=true nifi.cluster.node.address=nf1 nifi.cluster.node.protocol.port=9999 nifi.zookeeper.connect.string=nf1:2181,nf2:2181,nf3:2181 |
| node 2 에서 nifi.properties |
| path : /root/nifi/conf/nifi.properties |
nifi.state.management.embedded.zookeeper.start=false nifi.remote.input.host=nf2 nifi.remote.input.secure=false nifi.remote.input.socket.port=9998 nifi.remote.input.http.enabled=true nifi.web.http.host=nf2 nifi.web.http.port=8080 nifi.cluster.is.node=true nifi.cluster.node.address=nf2 nifi.cluster.node.protocol.port=9999 nifi.zookeeper.connect.string=nf1:2181,nf2:2181,nf3:2181 |
| node 3 에서 nifi.properties |
| path : /root/nifi/conf/nifi.properties |
nifi.state.management.embedded.zookeeper.start=false nifi.remote.input.host=nf3 nifi.remote.input.secure=false nifi.remote.input.socket.port=9998 nifi.remote.input.http.enabled=true nifi.web.http.host=nf3 nifi.web.http.port=8080 nifi.cluster.is.node=true nifi.cluster.node.address=nf3 nifi.cluster.node.protocol.port=9999 nifi.zookeeper.connect.string=nf1:2181,nf2:2181,nf3:2181 |
nifi-env.sh 에 JAVA HOME 을 찾아 넣는다.
찾는 방법은 아래 링크 참고.
| node 1,2,3 에서 bin/nifi-env.sh |
| path : /root/nifi/bin/nifi-env.sh |
... export JAVA_HOME=[각자의 JAVA HOME 위치] ... |
아래 bold 처리한 스크립트를 사용하여 nifi를 실행시킨다.
./bin/nifi.sh start && tail -f ./logs/nifi-app.log
뒤에 tail~ 부분은 실시간 log 를 보기 위한 부분임
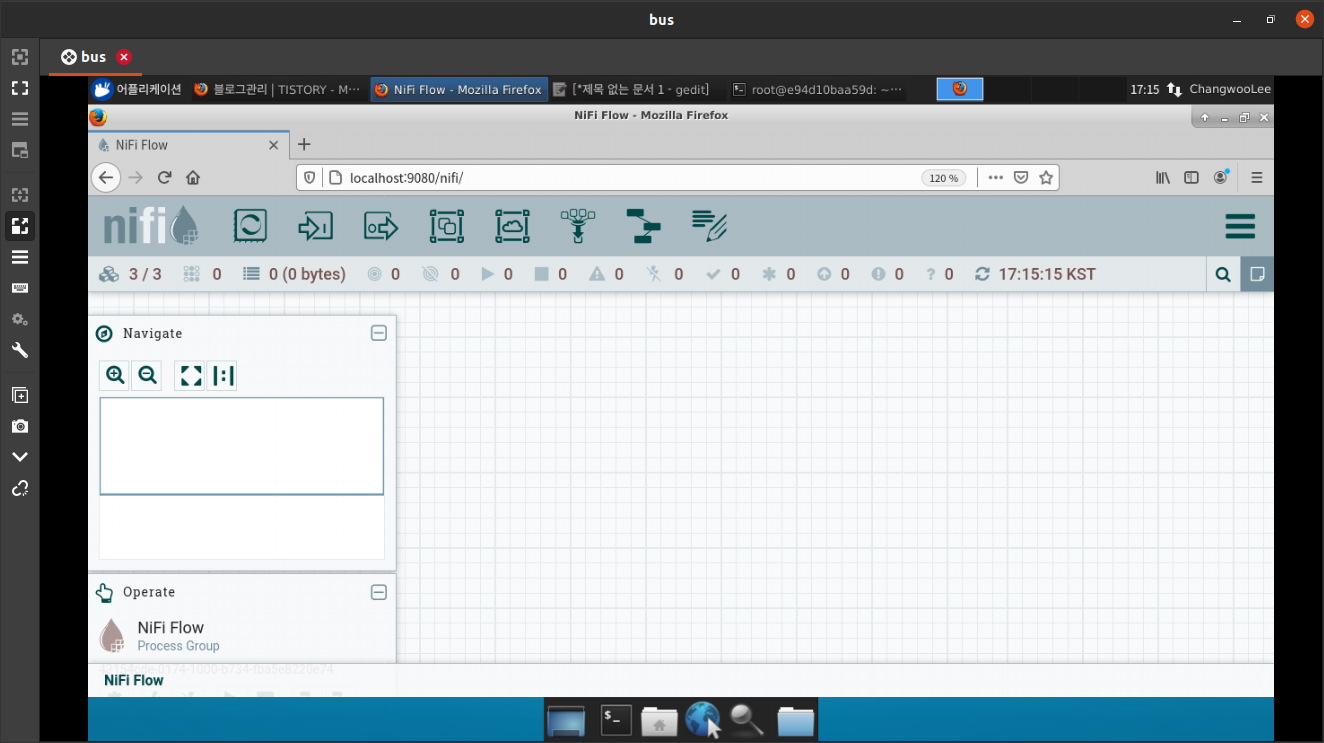
nifi.properties 중간에 nifi.web.http.port 라고 되어있는 포트(8080) 으로 접속해보면 webui 가 보인다.
참고
nifi.apache.org/docs/nifi-docs/html/administration-guide.html#basic-cluster-setup
pierrevillard.com/2016/08/13/apache-nifi-1-0-0-cluster-setup/
bryanbende.com/development/2018/10/23/apache-nifi-secure-cluster-setup
mintopsblog.com/2017/11/12/apache-nifi-cluster-configuration/
https://www.itpanther.com/apache-nifi-cluster-in-detail/
stackoverflow.com/questions/49939303/issue-while-setting-up-nifi-cluster
https://gist.github.com/cheerupdi/bffb331447abc78934ad5a40feb83f16
https://www.popit.kr/apache-nifi-overview-and-install/
https://knight76.tistory.com/entry/NIFI
'NiFi' 카테고리의 다른 글
| [Nifi] Clustering 의 필요성 (0) | 2020.09.16 |
|---|---|
| [Nifi] Docker 로 Zookeeper + Nifi Cluster 구축하는 방법 연구 (1) | 2020.09.08 |
| [Nifi] sample templates 링크 (0) | 2020.09.07 |
| [Nifi] 유용한 정보들 (9) | 2020.09.01 |
| [Apache Nifi] 간단한 설명 링크 (0) | 2020.08.25 |